

Our latest PDF pattern, the Dale Sweatshirt is out now! We love this pattern for its versatility and speedy construction. It's perfect for transitional spring layering. If you're new to working with ribbing, the application of it can feel confusing and intimidating, but once you get the hang of it we know you'll love this simple and satisfying finishing method!
To get started, grab your Dale Sweatshirt body and ribbing. Make sure all pieces are sewn up, pressed, and ready to be attached.

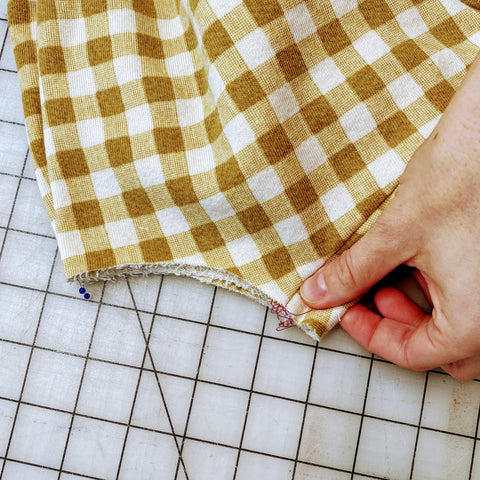
The neck and hem bands are designed to be smaller than the openings they will be attached to. They will stretch to fit as you sew to create a clean and professional finish. To ensure the bands are distributed equally you will need to divide the bands and the edge they will be attached to into 4 equal lengths.
Begin by quartering the neckline on the body. To quarter the neckline, first mark the center front and center back along the neckline with a pin or fabric marking tool.

Then, fold the neckline so the center front and back are stacked and aligned together.

Find the center point between the front and back and mark on both of the layers of the neckline.
The halfway point should be past the shoulder seam towards the front of the garment.

To quarter the neckband, place a pin at the seam (this will be the center back). Then fold in half to find the center front and place a pin or mark.

Stack the center front and center back to find the halfway point between each. Mark or pin these points.

Once you've finished quartering each piece it's time to pin them together.

Place the seam of the neckband at center back on the neckline with the raw edges together, then match each quarter mark.

Since the neckband is smaller than the neckline there will be excess neckline fabric between pins.

Stitch the neckband to the neckline with a ⅜” seam allowance, stretching the neckband to fit as you sew.

Be careful not to stretch the neckline of the sweatshirt as you sew, only the band to meet the length of the neckline. For some extra help, baste the ribbing in place before moving onto your overlocker or stretch stitch. Press seam allowance towards the body and repeat these steps for the cuffs and hem band.

Let me add this, these are based on my experience, when using rib knit fabric, it’s essential to choose the appropriate weight and stretch for your project. Keep in mind that rib knit stretches more in one direction along the ribs. Be sure to align the direction of greatest stretch with the part of the garment where stretch is needed the most. Additionally, consider using a ballpoint or stretch needle on your sewing machine to prevent skipped stitches and ensure smooth sewing when working with rib knit fabric. Anyway, your blog amazingly delves into various aspects of sewing, including finishing techniques, fabric choices, and clothing patterns adjustments.
Dejar un comentario